WordPress installs the Google Analytics method
There are two ways to install Google Analytics in wordpress: one is to use the wordpress plugin, and the other is to use the configuration method to add global website code tracking code.
I have been using the plugin method before, but this method has a certain impact on the loading speed of the website.
So, here is the introduction to installing Google Analytics by configuration.
Before the official introduction, let us popularize why you should install Google Analytics.
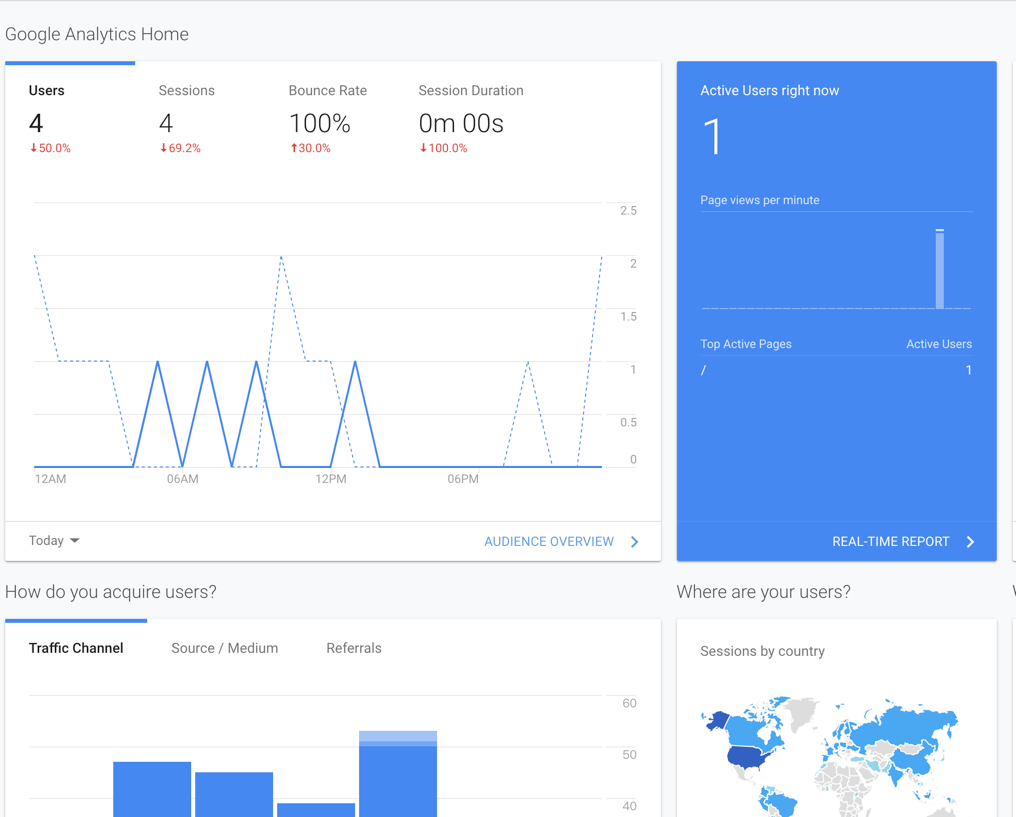
Google Analytics can show you important statistics to help you make data-driven decisions.
You can see:
- Who visited your website?
- What do people do on your website?
- When do people visit your website?
- How do people find your website?
- How do people interact with your content?
- Where did people visit your website?
Ok, here are the specific configuration steps:
Step 1: Go to the Google Analytics account backend, click on the pinion in the lower left corner, and select New Property.
As shown below:


Step 2: Click Tracking Info and select the Tracking Code menu. You can see the Global Site Tag content on the right and copy the js code.

Step 3: Go to your wordpress management background:
- Select the Appearance main menu
- Select the Theme Editor submenu
- Select the rightmost header.php file
- Add the js code you just copied to <head></head> and click the update file button

Step 4: After updating the header.php file in the wordpress background, follow step 1 to return to the Google analytics background and click the test button to see the effect in real time.

OK, it’s done.